First American Payments support the usage of the MOTO Transaction type for completing payments.
The MOTO transaction type is used in scenarios where a customer calls a store, places and pays for their order over the phone.
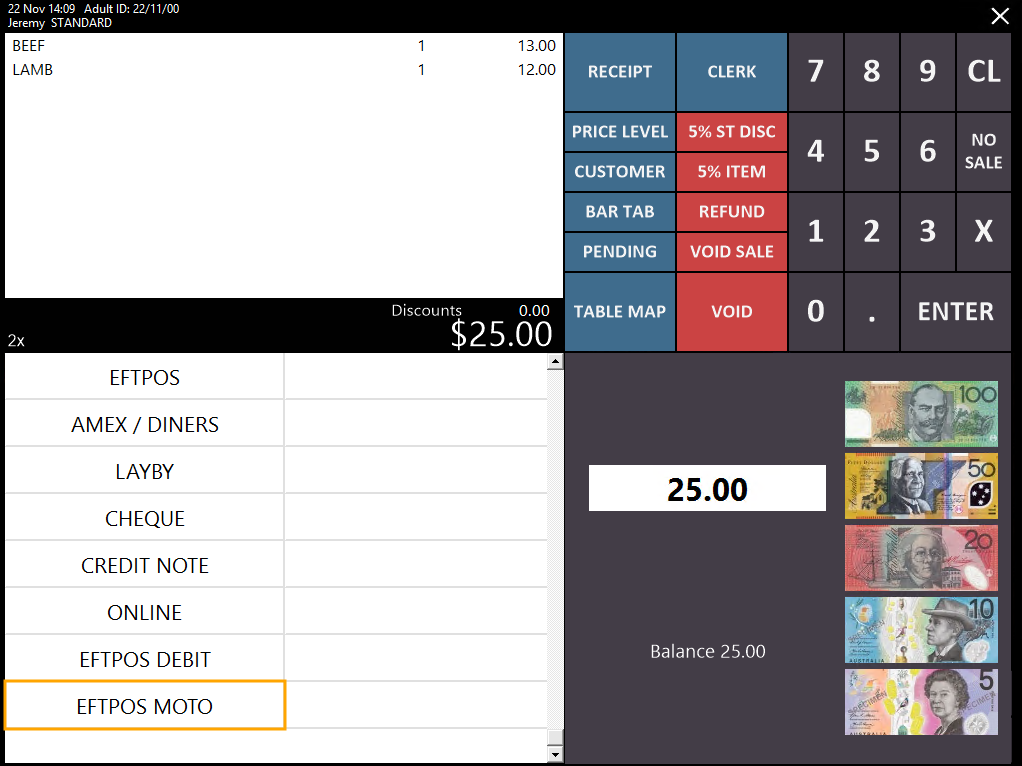
The operator at the store will add the items to the sale requested by the customer, then on the payment screen, they will press an EFTPOS - MOTO button.
The pinpad will prompt the operator to enter the Card Number, Card Expiry Date and CVV number.
The operator at the store will request the customer to read the details from their card and the operator will input the details into the pinpad.
After card details have been entered into the pinpad, the pinpad will process the transaction.
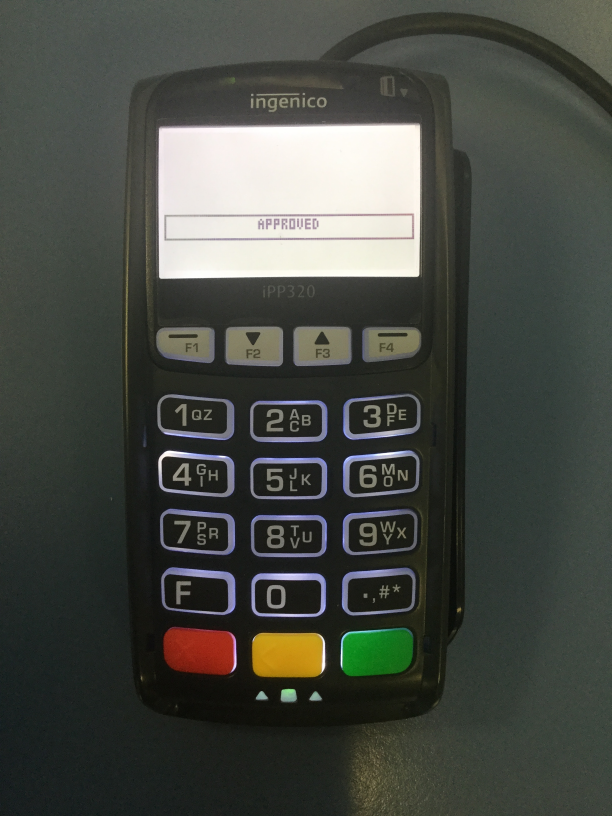
Should the transaction be successful, the pinpad will show an APPROVED message indicating that the payment was successful.
Should the transaction fail, the pinpad will show an error and the operator will need to ask the customer to re-read their card details and the operator will re-enter the details.
If your system hasn't already been configured to support this function, you may need to complete the steps outlined in "Enabling First American MOTO Transaction" listed below.
If your system is already configured for this function, you may skip ahead to "Performing a sale using EFTPOS MOTO".
In order to use the MOTO Transaction Type, a new 'EFTPOS MOTO' Tender needs to be configured via the Function Descriptors function.
Go to: Setup > Function Descriptors.
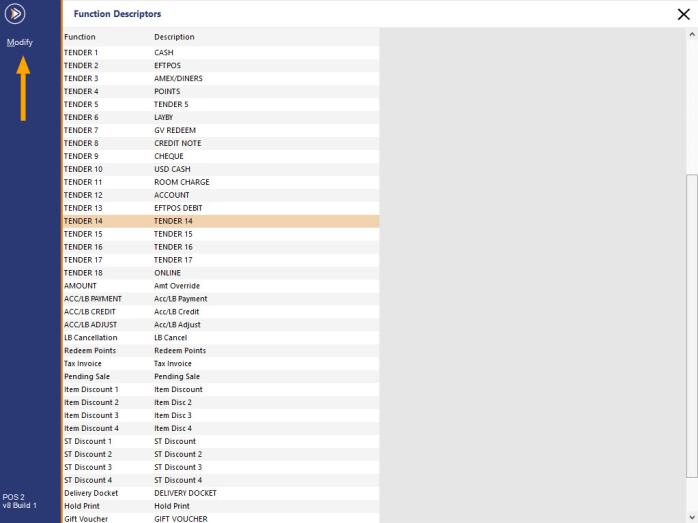
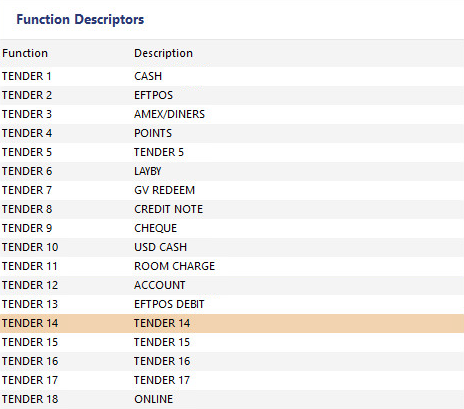
Find the next available Tender that is not currently in use.
Unused Tenders will show a Description of "TENDER X", where X is the number of the tender.
You can allocate any unused tender for the purpose of the EFTPOS DEBIT function, however, we recommend using the next available tender.
In the below example, the next available tender is TENDER 14 and is shown as highlighted.
Select the next available tender then press the Modify button on the top-left corner of the Function Descriptors window.
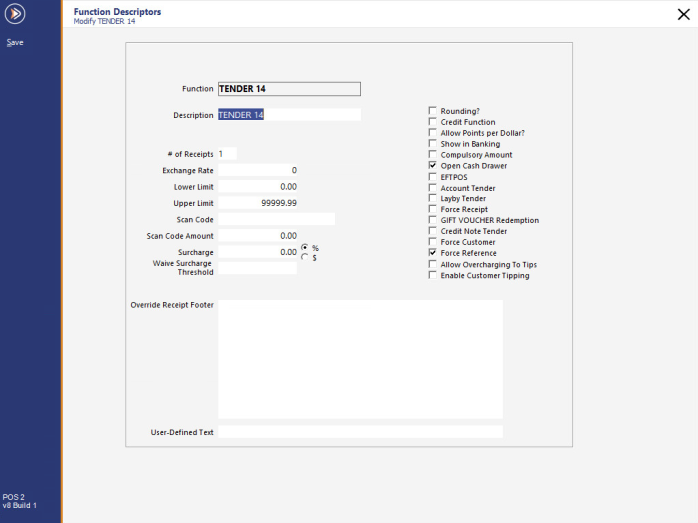
The Function Descriptors window for the selected Tender will be displayed.
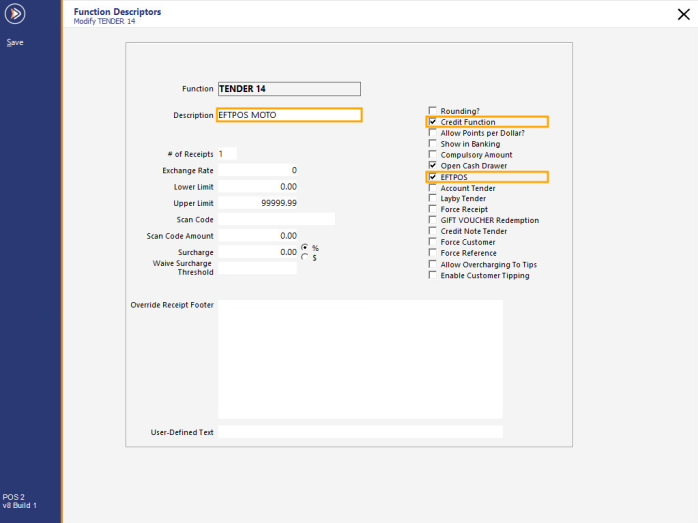
Set the Description to "EFTPOS MOTO" and enable checkboxes for "EFTPOS" and "Credit Function".
You may want to enable any other checkboxes that are required for this tender.
Once you have finished making the required changes, press the "Save" button on the bottom right corner of the window to save the changes.
Close the Function Descriptors window then continue to the next step below.
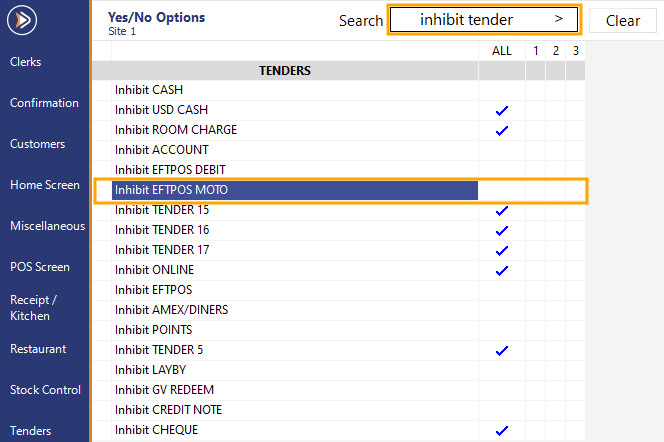
Before the EFTPOS MOTO tender can be used to finalise a sale in Idealpos, it must first be enabled in the Yes/No options.
Go to: Setup > Yes/No Options > Tenders
Enter "inhibit tender" into the "Enter Keyword Search" field then remove the tick under the "All" column for the newly created tender.
Doing this will enable the tender to appear on the Tender screen in Idealpos.
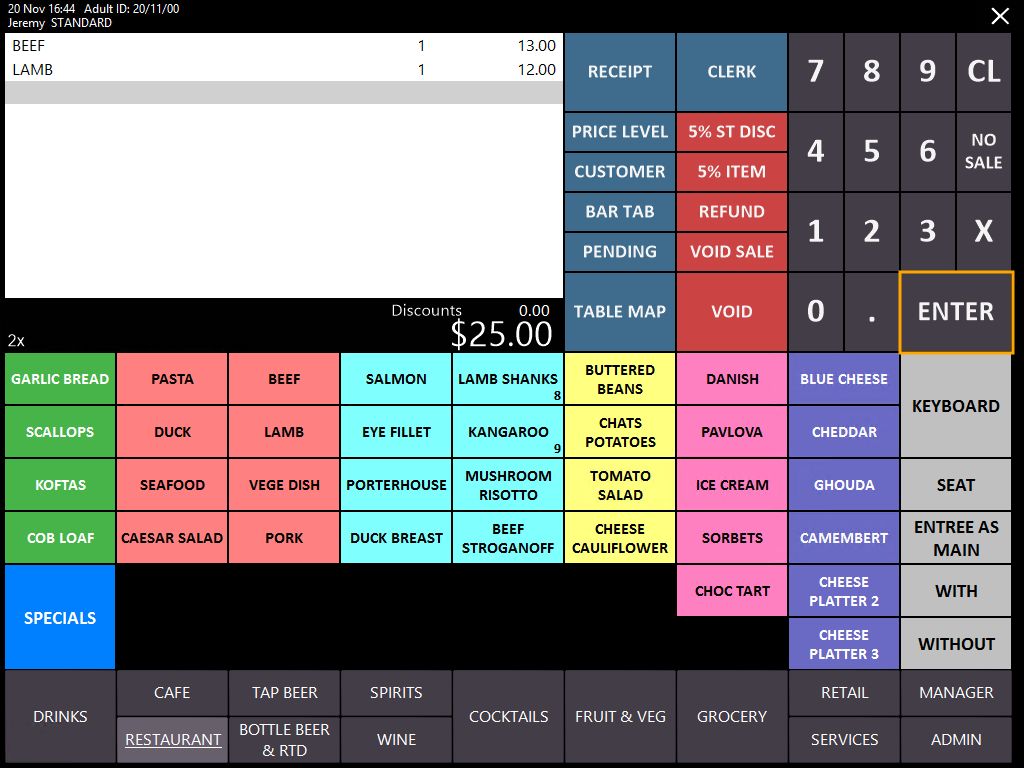
Go to the POS Screen, add items to the sale then press the "Enter" button on the POS Screen.
From the Tender screen, press the EFTPOS MOTO button.
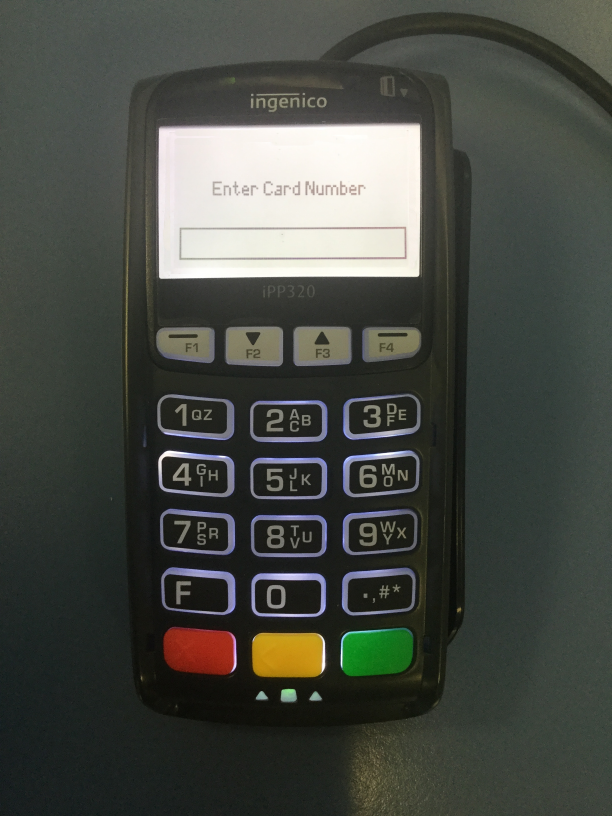
The pinpad will then prompt for the entry of the Card Number
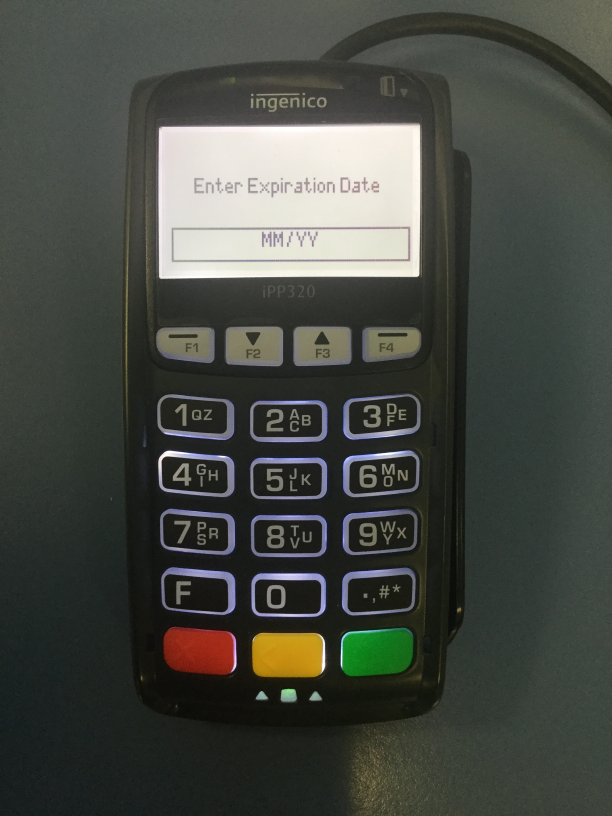
After entering the Card Number and pressing the green button, the pinpad will then prompt for the entry of the Expiration Date in the format of MM/YY
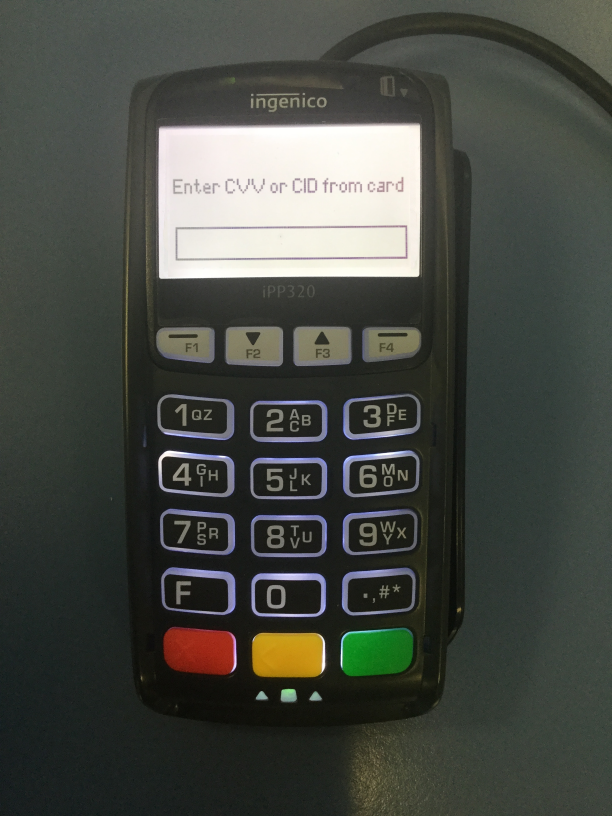
After entering the Expiration Date, the pinpad will then prompt for the entry of the CVV number or CID number.
This number is typically printed on the rear side of the card and is typically three digits in length
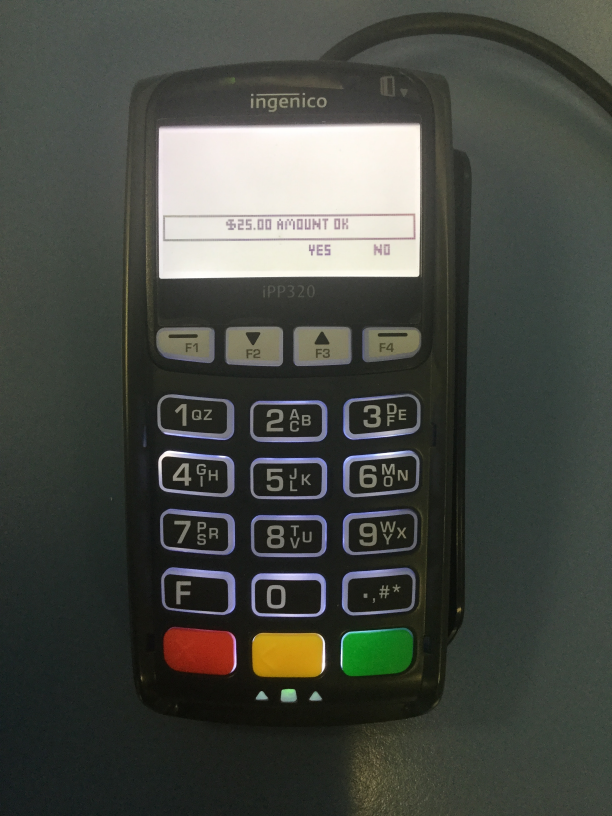
The pinpad will prompt for confirmation of the amount.
Confirm the amount by pressing the F3 key directly below the "YES" text.
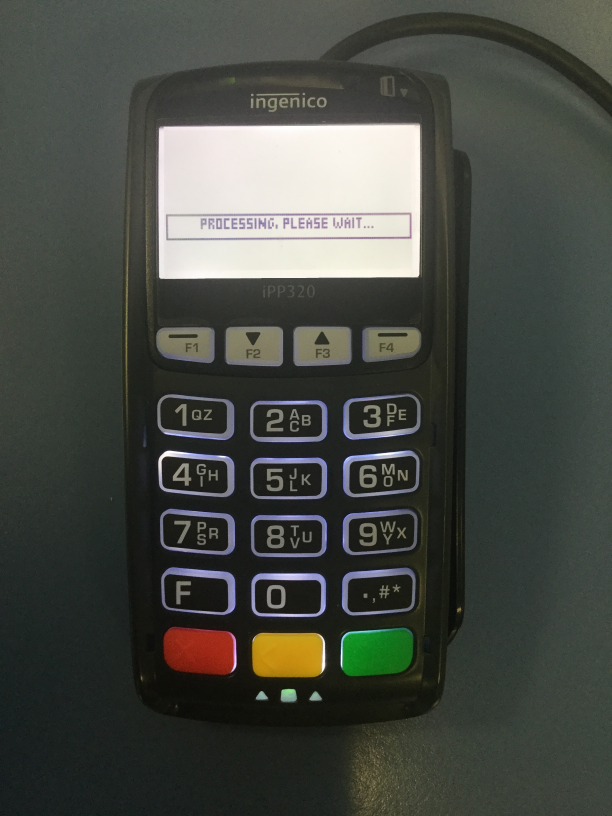
The pinpad will then display "PROCESSING, PLEASE WAIT...".
Once the transaction has been processed successfully, the pinpad will show "APPROVED".